Bulk Image Upload in Media

Media Screen – Bulk Image Upload & Management
By using the Media screen, you can upload and manage all images (e.g., room types, plans) in one place.
Uploading images to Media in advance allows you to simply select them later when creating room types or plans—making the process more efficient.
Additionally, when images are registered directly from a room type or plan, they are automatically saved to the Media screen.
⏱Estimated Time:About 3 minutes

Purpose:Avoid registering images one by one for each room or plan.
By managing images centrally in Media, you can select and reuse images directly when editing room types or plans.
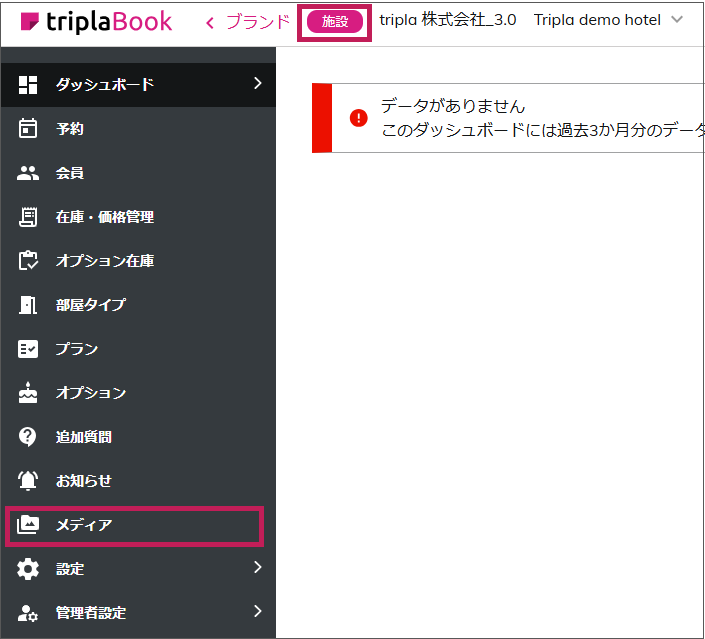
Where to Configure
Property Management Screen → Media

Upload Restrictions
<In the Media Screen>
The maximum size per image is 80MB.
Please upload only images for which you hold the copyright.<In the Room Type / Plan Screens>
The following restrictions apply to image uploads:
File format: JPG
File size: Up to 20MB
Minimum dimensions: 500 x 300 pixels
Recommended aspect ratio: 16:9
Upload
Click the "Upload Image" button and select an image file from your device to upload.
Image Upload via Drag & Drop- You can also upload images by dragging and dropping them into the upload area.
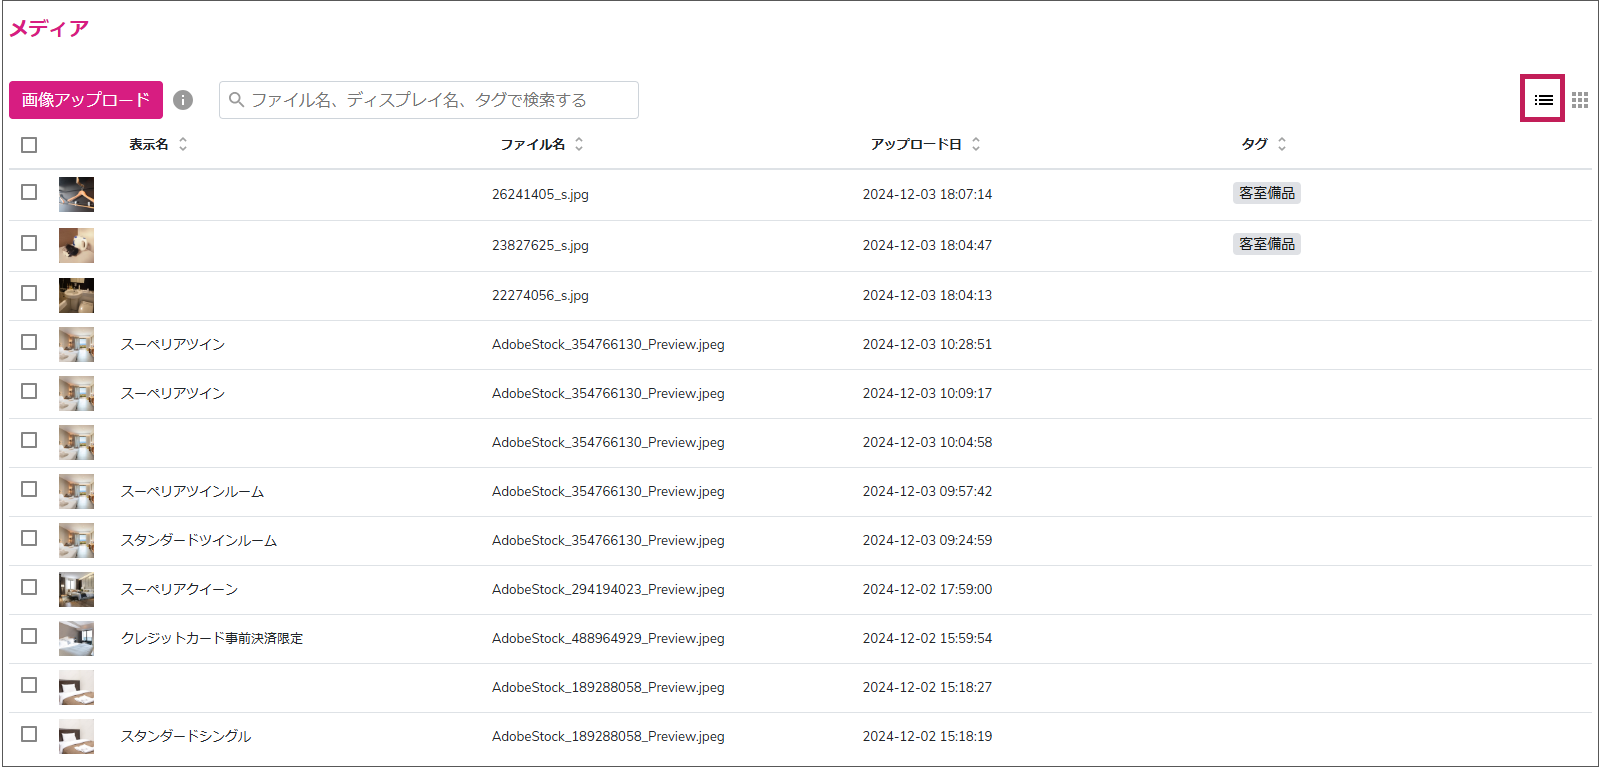
Toggle Image Display Mode
Use the buttons on the right to switch between list view and icon view.
List View
You can view the Display Name, File Name, Upload Date, and Tags in a table format.
Display Name is a name used internally in the admin panel and may differ from the file name.
Icon View
Images are displayed as thumbnails.
List View
Icon View
Editing Display Name & Tags
Click on an uploaded image to edit the Display Name and assign tags.
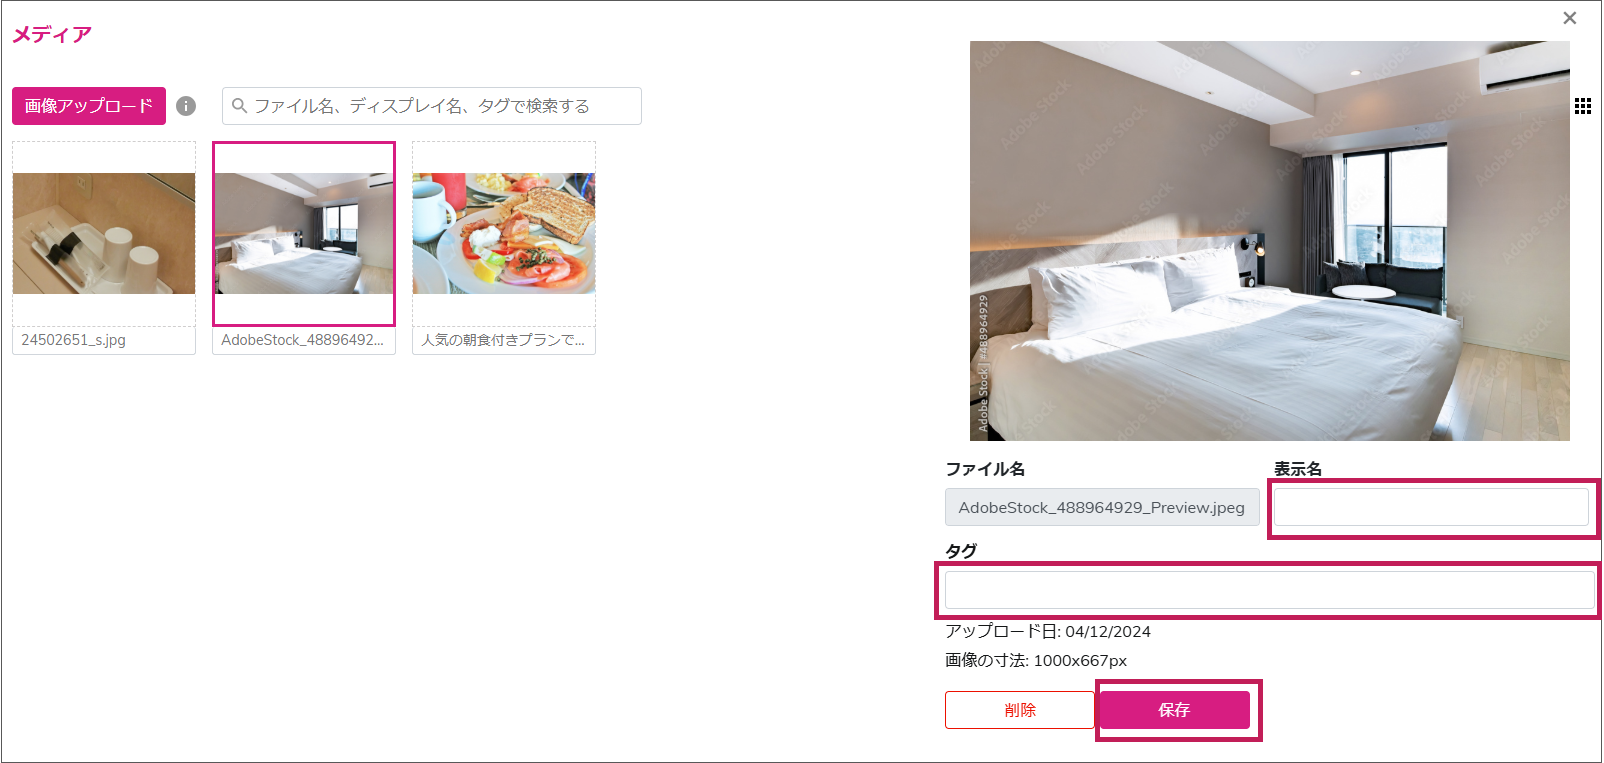
Tags can also be applied to multiple images at once. See the next section for more details.
Tag Management
You can assign tags to multiple images at once.
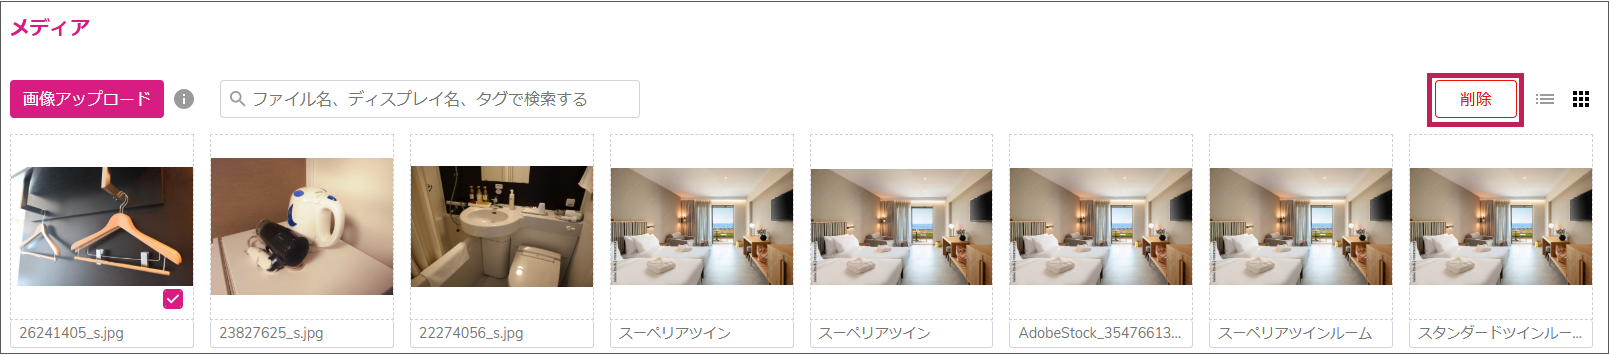
If only one image is selected, only the Delete button appears.
If two or more images are selected, the Edit button appears, allowing tag assignment.
In the popup window, enter a tag name and press Enter to assign it. Click Confirm to apply the tag.
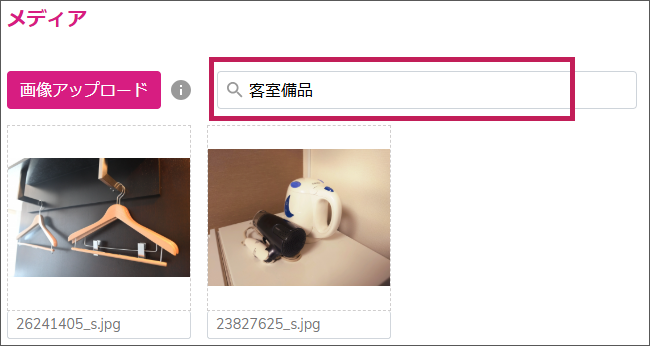
Assigning tags allows you to filter images using search.
Deleting Images
To delete uploaded images, select them and click the Delete button.
If the image is linked to a room type or plan, deleting it will also remove it from those areas.
Related Articles
Bulk Edit Plans
Here is how to configure bulk editing for plans: From the Brand Management screen, go to [Reservation Engine Settings] → [Plan Management]. How to Bulk Edit Plans From the [Reservation Engine Settings] dropdown menu, select your Site Controller. Once ...Inventory and Price Management
Here you can modify inventory, prices, and view the inventory and price information set by the site controller. ⏱Time required: None (about 15 minutes if you set it up in the tripla admin panel) Configuration Location Notes for Each Site Controller ...Create or add room types
Here, you can configure the capacity, facilities, and other settings for each room type displayed in the "Room Information" section of the booking widget when customers search for accommodation plans. ⏱Estimated time required: About 5 minutes If your ...tripla Guide
This service enables guests to view the in-room information, which was previously provided via paper or VOD, on their own smartphones. ※To use this service, a contract for tripla Bot and tripla Guide is required. <Transition to CM3.0> Due to new ...Inserting Images into the Chatbot
How to Insert Images into Automatic Messages in the Chat You can provide guidance to customers using photos, such as displaying an access map. Allowed Image Specifications Title Details File Formats: JPG, PNG, GIF File Size: Up to 800×800 px, 20MB ...